What it means
Maytag lists the vent fan and light switch (located on the lower left front side panel) or the wiring for F2H2 on the over-the-range microwave. Reset the power first and watch the display; a returning the code is the cue to book us.
Maytag microwave F2H2 / Fan and airflow
Maytag lists the vent fan and light switch (located on the lower left front side panel) or the wiring for F2H2 on the over-the-range microwave. Reset the power first and watch the display; a returning the code is the cue to book us.
Also printed as F2H2
Maytag lists the vent fan and light switch (located on the lower left front side panel) or the wiring for F2H2 on the over-the-range microwave. Reset the power first and watch the display; a returning the code is the cue to book us.
Unplug the microwave or switch off its breaker before any panel comes off, and never open the casing, because it holds charge.
F2H2 returns, or the over-the-range microwave behaves oddly around the code.
Your Maytag to-do list, saved here on this device
Unplug the microwave or switch off its breaker before any panel comes off, and never open the casing, because it holds charge.
Record F2H2 character by character and note the product type: over-the-range microwave.
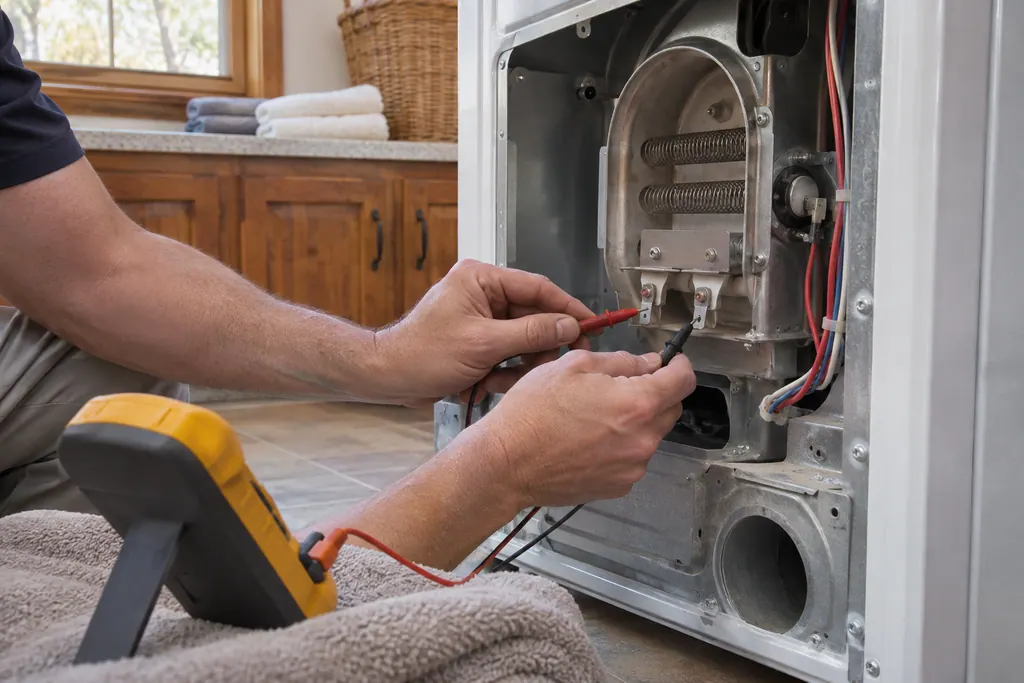
Leave the breaker off a whole minute before checking for F2H2 again.
Give the microwave a minute on screen after the reset; a returning F2H2 means schedule a visit.
Write down the exact words or symbols the over-the-range microwave shows before you do anything.
Write down the model and serial numbers and the exact F2H2 wording before you call.
Give us the model and the checks you have run, then open your request right here.
Book a visitA rough sketch only, because a Maytag is laid out differently from model to model. Click a highlighted part to open its photo and the matching test.
Component reference
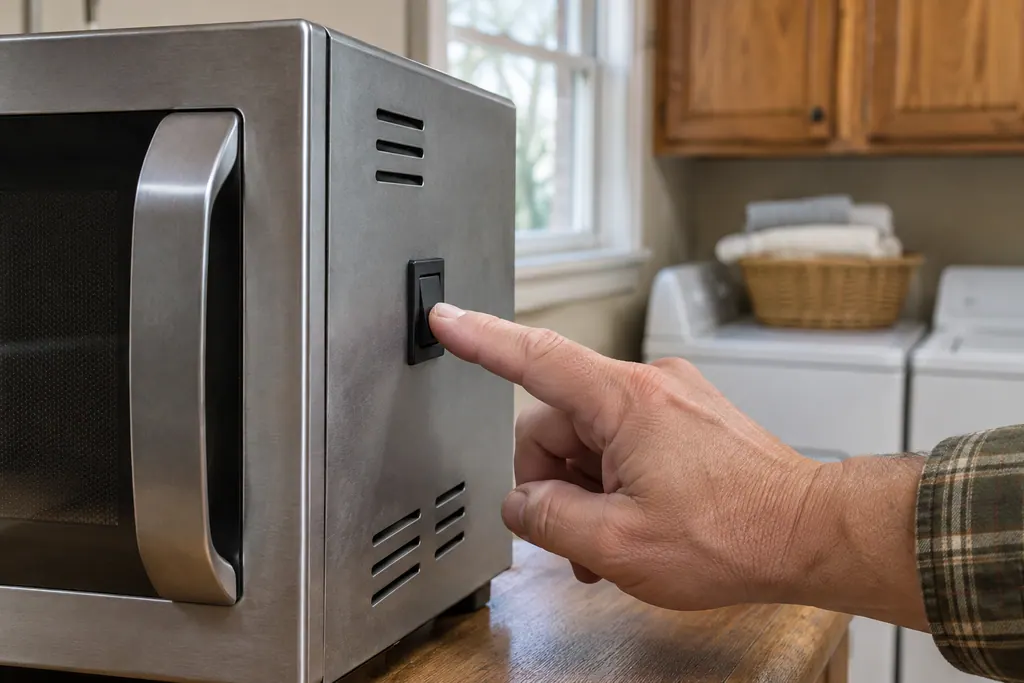
On a Maytag over-the-range microwave, F2H1 and F2H2 name the vent fan and light switch, found on the lower left front side panel, or its wiring.
Read the definitionMaytag's over-the-range microwave page says F2H2 may come from the vent fan and light switch (located on the lower left front side panel) or the wiring. It stops there; no test and no ranking is given.
Read the supporting manualTake the microwave off power at the breaker for a full minute. Put it back on and give it a minute of watching; if F2H2 stays away, the reset did its job.
Read the supporting manualF2H1 and F2H2 name the same suspects in the over-the-range microwave list; quote the code you actually see when booking.
Read the supporting manualWhen in doubt, switch the over-the-range microwave off. Never open a panel on the over-the-range microwave yourself.
Read the supporting manualManufacturer document
Maytag Product Help (producthelp.maytag.com)
dateModified 2021-04-29; PH 10353 / PH 10353 (over-the-range microwave)
F2H2 comes from Maytag Product Help (PH 10353) for the over-the-range microwave, read in November 2026; the F2H2 entry names no models.
F2H2 is printed against the vent fan and light switch (located on the lower left front side panel) or the wiring; the page does not narrow it down.
It sometimes does. Breaker off for a full minute, then on, then a minute of watching. If F2H2 returns, schedule a visit.
The list is the vent fan and light switch (located on the lower left front side panel) or the wiring; testing on site settles it.
Tell us the model, the display wording and when F2H2 first showed up.
Maytag codes, symptoms, parts and service
Maytag's over-the-range microwave page links F2H1 to the vent fan and light switch (located on the lower left front side panel) or the wiring. It does not say which one, so run the reset below and schedule a visit if the code returns.
If a Maytag microwave will not start, the display usually explains why: a door message, the LOC padlock icon, or Demo Mode. Reopen and reclose the door first, then check the lock and demo settings before you book a visit.
On a Maytag over-the-range microwave, F2H1 and F2H2 name the vent fan and light switch, found on the lower left front side panel, or its wiring. The printed step is a 60-second power-down at the breaker, then restoring power and observing the unit.
Book a diagnostic for your model, done at the machine.
Office details, and the entry information to pass along.